
2026-10-15
3D printing occlusal splints and night guards: which resin to choose
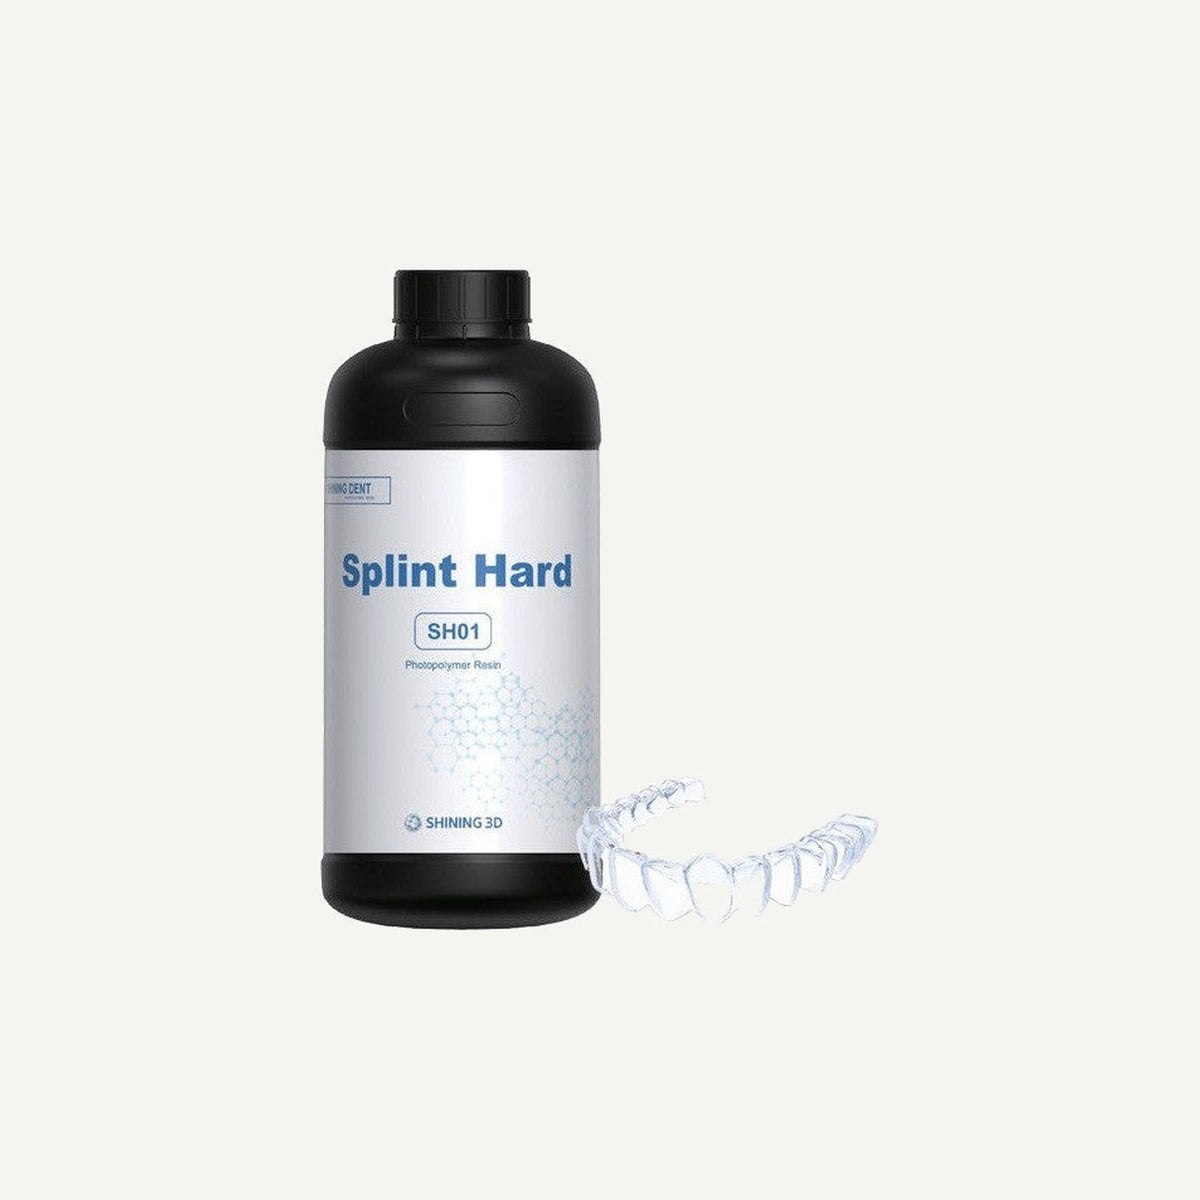
For an occlusal splint or night guard, choose the resin according to how rigid the appliance needs to be: a hard resin suits stabilization, bruxism and occlusal splints, while a flexible resin suits soft protective splints that are easier for the patient to put in. In both cases the resin must be intended for long-term contact with the oral mucosa, and the splint must be washed and cured exactly according to the manufacturer's protocol. In the IMMT range, the resins for this are SHINING DENT SH01 (hard), SHINING DENT SS01 (soft) and HeyGears Hard/Soft Splint.
Why splints are worth printing
Traditionally, a splint is made by thermoforming a sheet over a stone model or from acrylic. When the splint is printed directly from intraoral scan data, there is no need to pour or print a model, and the thickness and occlusal surface are planned in CAD software. This is especially convenient when a lost or broken splint needs to be remade – the file stays in the archive. Occlusal contacts are designed in advance, so less chairside time is spent on adjustment.
A clinic can also print splints itself – a compact printer plus washing and curing units are enough. Nevertheless, in many cases a more logical division of work is for the clinic to scan and send the bite registration, while the lab designs, prints and post-processes. In that case the lab is responsible for the entire production protocol – from resin selection to final polishing – and the clinic receives an appliance that only needs to be fitted in the mouth. Whichever model suits you better, the principles discussed below apply to both.
Hard or flexible resin
| Property | Hard resin | Flexible (soft) resin |
|---|---|---|
| Typical use | Stabilization, bruxism and night splints, bite plates | Soft protective and night guards |
| Wear resistance | Higher – suitable for tooth grinding | Lower, but more comfortable to wear |
| Occlusal adjustment | Easy to grind and adjust | Harder to adjust |
| Seating | Requires a precise path of insertion; undercuts matter | Easier to insert and remove |
| IMMT resins | SHINING DENT SH01, KeySplint Hard (HeyGears Hard/Soft Splint) | SHINING DENT SS01, KeySplint Soft (HeyGears Hard/Soft Splint, "Soft" variant) |
Which appliance to choose from a clinical point of view is decided by the dentist based on the diagnosis. For the lab, what matters is that the chosen resin is intended for exactly the indication stated in the order.
IMMT splint resins: what the manufacturers state
- SHINING DENT SH01 – for hard occlusal (night, bruxism) splints. According to the manufacturer, it offers high flexural and tensile strength and controlled shrinkage, and contains no TPO, MMA or THF-MA. It is printed on SHINING 3D AccuFab series printers.
- SHINING DENT SS01 – for soft occlusal (protective, night) guards. According to the manufacturer, it is tough and flexible, and thanks to controlled shrinkage its accuracy exceeds 98%. It is also free of TPO, MMA and THF-MA.
- HeyGears Hard/Soft Splint – these are Keystone Industries KeySplint resins validated for use with HeyGears printers. The clear 1000 g package is the standard KeySplint Hard resin for rigid, wear-resistant splints. KeySplint Soft is thermoplastic – it softens when warmed, which makes the splint easier to insert. According to the manufacturer, both comply with ISO 10993 and ISO 20795.
For orthodontic retainers there is a separate material – Graphy TR-07, a clear resin for direct printing of retainers. It is not an occlusal splint resin, so do not mix up the indications. We wrote about Graphy's direct printing technology in the article Direct 3D printing of aligners.
Biocompatibility and documentation
A splint is worn in the mouth for many hours a day, so biocompatibility is not a marketing term but a requirement. Before you start production, check:
- whether the resin's indications clearly list occlusal splints (not just "models" or "guides");
- the manufacturer's declaration on biocompatibility testing (e.g. ISO 10993) and the medical device class;
- which printers and curing units the resin is validated for.
It is important to understand that biocompatibility only applies when the appliance has been post-processed according to the manufacturer's protocol. An insufficiently washed or under-cured splint may contain residual monomers, even if the resin itself is certified.
Thickness and design
The SHINING 3D application guide for SH01 resin specifies a minimum thickness of 1.5 mm for splints and night guards (including the occlusal part) and 0.8 mm for retainers. For the CreSplint software, a gap of 0.10–0.20 mm between the splint and the teeth is suggested: a lower value means a tighter fit. For other manufacturers' resins, check the minimum thickness in their instructions.
Practical design tips:
- Design the occlusal surface according to the vertical opening and contact scheme specified by the dentist – this means less adjustment chairside.
- Block out undercuts according to the material: a hard splint needs a clear path of insertion, while a flexible material tolerates undercuts better.
- Round off the edges – sharp edges irritate the mucosa and chip more easily.
AccuWare, the software for SHINING 3D printers, has an integrated CreSplint module – you will find more about the capabilities of the AccuFab-L4D / L4K on the product page.
Printing and orientation
SHINING 3D recommends placing the splint horizontally with the occlusal surface facing the platform, so that the supports are in non-contact areas, or vertically with the anterior teeth facing the platform – in that case most supports can be removed, leaving only those at the anterior teeth. For clear resins, the manufacturer suggests the HyperClear resin tank (AccuFab-CEL) and a layer thickness of 50–100 µm.
Both lab and chairside printers are suitable for splints: AccuFab-L4D / L4K, the compact AccuFab-Aris for clinics, or the HeyGears UltraCraft A2D-HD for HeyGears and KeySplint resins.
Washing, curing and polishing
This stage determines translucency, hardness and safety. The manufacturers' key instructions:
- SH01 (SHINING 3D guide). Wash in a FabWash station with isopropanol (> 75%) for the preset time, or by hand for 1–2 min. Cure in the FabCure 2 for 6 min at 60 °C, or in the FabCure 1S for 10 min. Remove supports only after curing, as uncured resin is soft and easily damaged.
- KeySplint Soft (Keystone instructions). Wash with isopropanol of at least 97% concentration and do not leave the part in it for longer than 5 min; the manufacturer does not recommend ethanol or denatured alcohol. After curing, let the part cool completely in the chamber to prevent distortion.
- In the HeyGears system, washing is automated by the UltraCraft Wash and curing by the UltraCraft AirCure.
Only the edges and the occlusal surface are polished. The Keystone instructions clearly state that the intaglio (fitting) surface should not be polished – this can impair the fit. The usual sequence: grinding down the support points, pumice, polishing paste, final high-shine polish. Before delivery, the splint is washed with soap and water to remove any polishing residue. More about this stage in the article Washing and curing 3D prints.
The most common mistakes when making splints
- The splint is too thin. After occlusal adjustment in the clinic, thin areas become even thinner and the splint starts to crack. Respect the minimum thickness specified by the manufacturer.
- Washing for too long. A splint left in solvent for a long time can become cloudy or lose its properties – this is especially relevant for flexible resins.
- Supports removed before curing. Uncured resin is easily damaged, so remove supports only after final curing.
- The splint is taken out of the curing unit while hot. Let it cool down – this prevents distortion.
- A polished intaglio surface. The splint no longer fits as designed.
Frequently asked questions
Can a splint be printed with model resin?
No. Model resins are not intended for long-term contact with the oral mucosa. For splints, use a resin whose indications include occlusal splints.
How thick should a splint be?
The clinical thickness is determined by the dentist, and the minimum permissible thickness by the resin manufacturer. For SHINING DENT SH01, it is 1.5 mm for splints and night guards.
Why has the splint turned yellow or cloudy?
The most common causes are leaving it in solvent for too long, an incorrect curing mode or insufficient polishing. Stick to the exact washing time and use the curing profile validated for the resin.
Can a soft splint be adjusted in the clinic?
Yes, but it is harder than with a hard splint – flexible material does not grind as well. That is why it is worth planning the occlusion and fit as precisely as possible at the CAD stage.
Is a 3D printed splint suitable for long-term use?
Yes, if the resin is intended for it – for example, the manufacturer specifies SH01 and SS01 for long-term contact with the oral cavity. Wearing time and the replacement interval are determined by the dentist based on the condition of the splint.
Summary
Printed splints are one of the easiest areas in which to start digital production, but the result depends on the right resin, sufficient thickness and a strict washing and curing protocol. You will find all splint resins in the SHINING DENT 3D resins and HeyGears 3D resins sections. Would you like to try the workflow with your printer or choose equipment? Contact IMMT or call +370 601 00030.