
2026-10-15
Digital workflow in the clinic: from scan to restoration
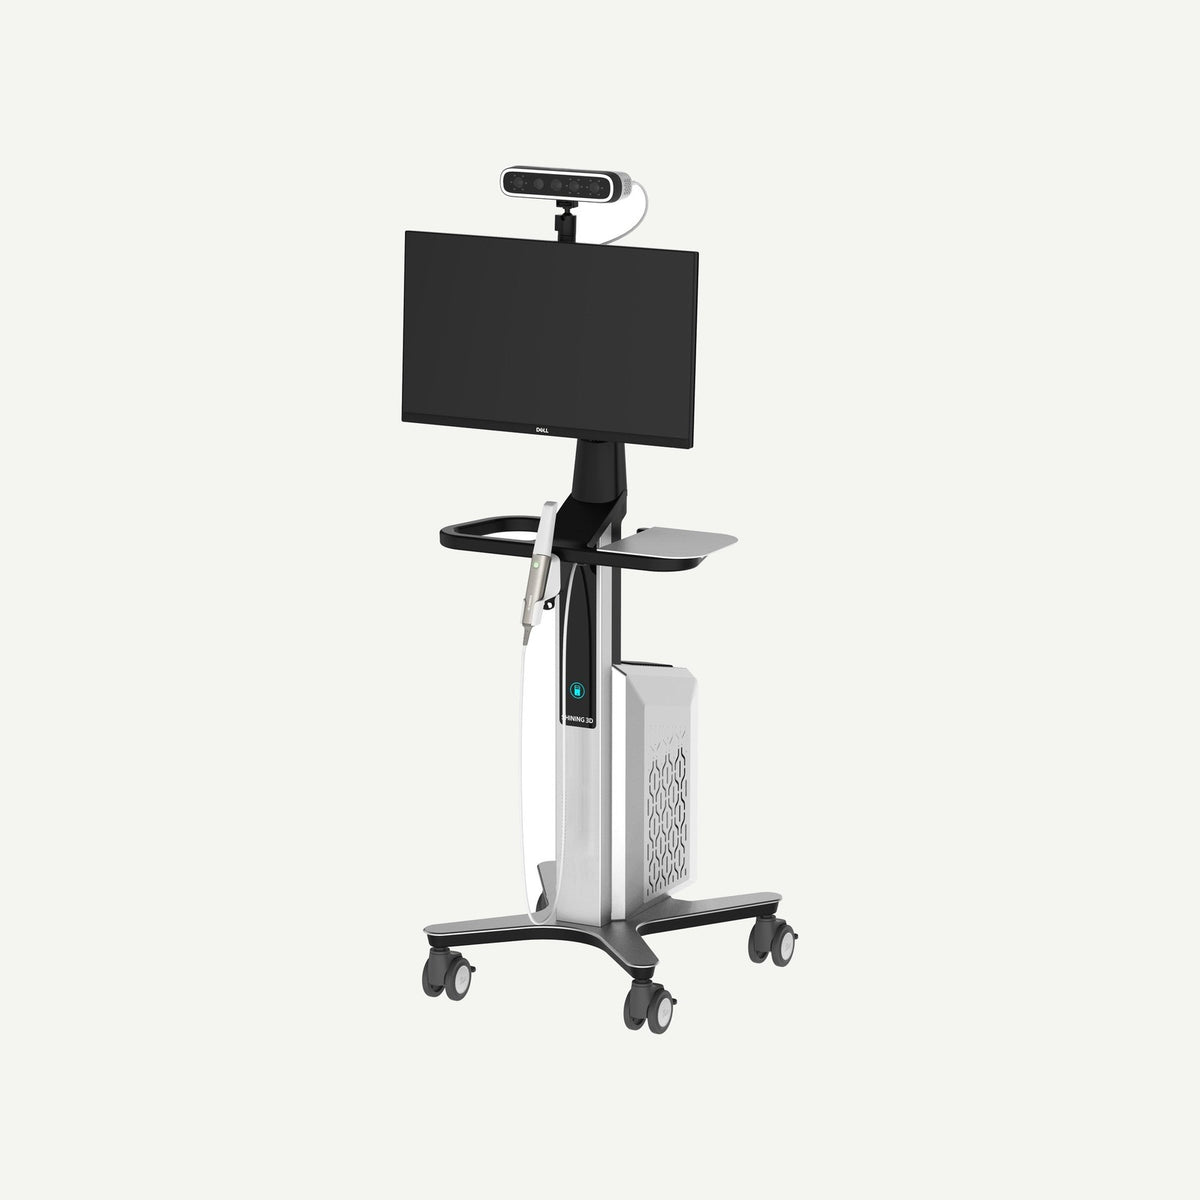
The digital workflow in a clinic consists of five stages: scanning, design (CAD), manufacturing by printing or milling, post-processing (washing and curing, or sintering) and fitting in the mouth. Each stage requires different equipment and materials, and a clinic can carry out all stages itself (chairside) or hand some of them over to a lab. Below we go through each stage in turn and the IMMT solutions that suit it.
1. Scanning: the quality of the digital impression determines everything
The workflow starts with data. In the clinic this means an intraoral scanner; in the lab, a lab scanner used to digitize stone models or impressions. However accurate the other stages are, an error in the scan – an unclear margin or an inaccurate bite – travels through the entire process.
- In the clinic. The SHINING 3D Aoralscan line – from the lightweight Aoralscan Elf to the Aoralscan Elite with intraoral photogrammetry for full-arch implant work. All models export open STL, OBJ and PLY files. You will find all models in the Intraoral scanners section.
- In the lab. According to the manufacturer, the AutoScan-DS-EX Pro scans a single-jaw model in 9.5 s and a bite in 5 s, also scans impressions and articulators, and transfers the order to exocad with a single click.
We discuss how digital and conventional impressions compare in terms of time, accuracy and limitations in a separate article on digital and conventional impressions. You will find the criteria for choosing a scanner in the guide Intraoral scanner – how to choose?
2. Design (CAD): who designs and where
The restoration or other appliance is designed on the scan: a crown, splint, surgical guide or model. The key decision here is who will do the design.
- The lab. The most common route: the clinic sends the scan, and the technician designs in their own CAD software (for example, exocad) and manufactures. The clinic does not need CAD skills.
- The clinic with simple modules. Some software includes simplified design modules. For example, AccuWare from SHINING 3D, used to prepare prints for the AccuFab-L4D / L4K printer, integrates the CreSplint, CreIBT, AccuDesign and CreTemp modules – for splints, indirect bracket bonding trays and temporary restorations. According to the manufacturer, the Aoralscan 3 Wireless software also has a temporary crown design function.
- The clinic with full CAD software. Suitable for clinics that have a trained staff member and sufficient case volume.
Tip: start with simpler appliances – models, splints, temporary crowns – and only then move on to long-term restorations.
3. Manufacturing: print or mill?
Printing and milling do not replace each other – they are intended for different materials and indications.
| Criterion | 3D printing (resins) | Milling (CAD/CAM discs) |
|---|---|---|
| Typical appliances | Models, splints, surgical guides, custom trays, temporary and some long-term crowns, denture bases | Zirconia crowns and bridges, PMMA temporary restorations, metal frameworks |
| Materials | Photopolymer resins | Zirconia, PMMA, wax, CoCr, titanium |
| Post-processing | Washing and post-curing | Zirconia – sintering in a furnace; PMMA – finishing |
| More common for | Clinic and lab | Mostly the lab |
Printers. The SHINING 3D AccuFab-L4D / L4K is an LCD printer with a 4K resolution screen and a 192 × 120 mm build area; the small resin tank is convenient for small orders in the clinic. The HeyGears UltraCraft A2D-HD is a desktop DLP printer which, according to the manufacturer, prints up to five full-arch models in 20 minutes and automatically recognizes the loaded resin. You will find all printers in the 3D printers section, and how to compare them in the article How to choose a 3D printer.
Resins. For temporary restorations, SHINING DENT CB11 is suitable; for long-term crowns, veneers, inlays and bridges of up to 3 units, the ceramic-filled resin SHINING DENT CB200. We review which resin to choose for which appliance in the article 3D printing resins in dentistry.
Milling materials. For zirconia restorations – YUCERA zirconia discs, for example the pre-shaded multilayer YUCERA 4D Pro Multilayer, which, according to the manufacturer, does not need internal staining – it can be sintered right after milling. For temporary restorations and dentures – PMMA discs; for metal frameworks – CoCr and titanium discs. You will find the full range in the CAD/CAM discs section. IMMT, UAB is the official representative of SHINING 3D and YUCERA.
4. Post-processing: the most underestimated stage
Both printed and milled parts come out of the machine not yet finished.
- Prints – washing. Unpolymerized resin must be removed. Washing stations are designed for this, for example FabWash, which automatically selects the washing time, or the HeyGears UltraCraft Wash, which uses isopropanol (99%) or ethanol (95%).
- Prints – post-curing. Only after post-curing does the resin achieve the mechanical properties and biocompatibility declared by the manufacturer. Curing units are used for this, for example the FabCure 2 with its library of material profiles, or the HeyGears UltraCraft AirCure, whose cycle, according to the manufacturer, takes up to 10 minutes. Always follow the mode specified by the resin manufacturer.
- Zirconia – sintering. Milled zirconia is in a "chalky" state and only reaches its final strength and shade after sintering in a furnace. The restoration shrinks during sintering, so proper support, such as sintering beads, is important.
More in the articles Washing and curing 3D prints step by step and Zirconia sintering in the lab.
5. Fitting: the final check in the mouth
Before cementation, the marginal fit, contact points, occlusion and shade are checked. According to manufacturers' instructions, printed long-term restorations may be finished, polished and, if needed, stained and glazed before delivery to the patient. Zirconia restorations are glazed or polished in the lab. If you notice a systematic error during fitting (e.g. a contact that is always too tight), go back to the CAD parameters or printer calibration rather than adjusting each case by hand.
Chairside or lab: how to divide the stages
| Model | The clinic does | The lab does | Suitable for |
|---|---|---|---|
| Digital impression + lab | Scanning, fitting | CAD, manufacturing, post-processing | Clinics starting a digital workflow |
| Hybrid | Scanning, printing models, splints, guides and temporary work | Zirconia, metal, complex aesthetic restorations | Most active clinics |
| Full chairside | All stages, including long-term restorations in a single visit | Only complex cases | Clinics with trained staff and sufficient case volume |
For single-visit restorations, SHINING 3D offers a capsule solution: SHINING DENT CB200 resin is also supplied in pre-dosed capsules for the Ceramix-Nano printer, so a crown can be printed, cured and prepared in a single visit.
The most common mistakes when implementing a digital workflow
- Buying equipment without a clear workflow. First decide which appliances you will make yourself and which you will hand over to the lab.
- Cutting corners on post-processing. Insufficiently washed or cured prints do not meet the declared properties.
- File formats and parameters not agreed with the lab. Agree in advance on the format and channel you will use to exchange data.
- No plan for training. Each stage needs a responsible person and time to build skills.
Frequently asked questions
Do I need to buy all the equipment at once?
No. The most common first step is an intraoral scanner and cooperation with a lab. A printer with washing and curing equipment is usually purchased later, once it is clear which appliances are worth making in the clinic.
Can zirconia crowns be made in the clinic?
Technically yes, but this requires a milling machine, a sintering furnace and experience. For most clinics it is more efficient to hand zirconia work over to a lab and print models, splints and temporary work themselves.
How long does post-processing of a print take?
It depends on the resin and equipment. For example, according to HeyGears, washing in the UltraCraft Wash takes 4–6 minutes and the AirCure curing cycle up to 10 minutes. Always follow the instructions for the specific resin.
Can resins from other manufacturers be used?
According to the manufacturer, the AccuFab-L4D / L4K is suitable for SHINING DENT and certified third-party materials. The HeyGears A2D-HD is optimized for HeyGears UltraPrint resins. Before using another resin, check whether a validated print profile is available.
How do I send scans to the lab?
Aoralscan scanners export open STL, OBJ and PLY files that can be sent to the lab. Agree on the channel and format with the lab in advance.
Summary
The digital workflow is a chain: scanning, design, manufacturing, post-processing and fitting. Its quality is determined by the weakest link, so it is worth planning the entire process rather than buying individual devices. Start with what you do most often and expand stage by stage. Would you like advice on which configuration suits your clinic or lab? Contact IMMT or call +370 601 00030 – we will show you the equipment in action.