
2026-10-15
Intraoral scanner care: tip sterilization, disinfection and calibration
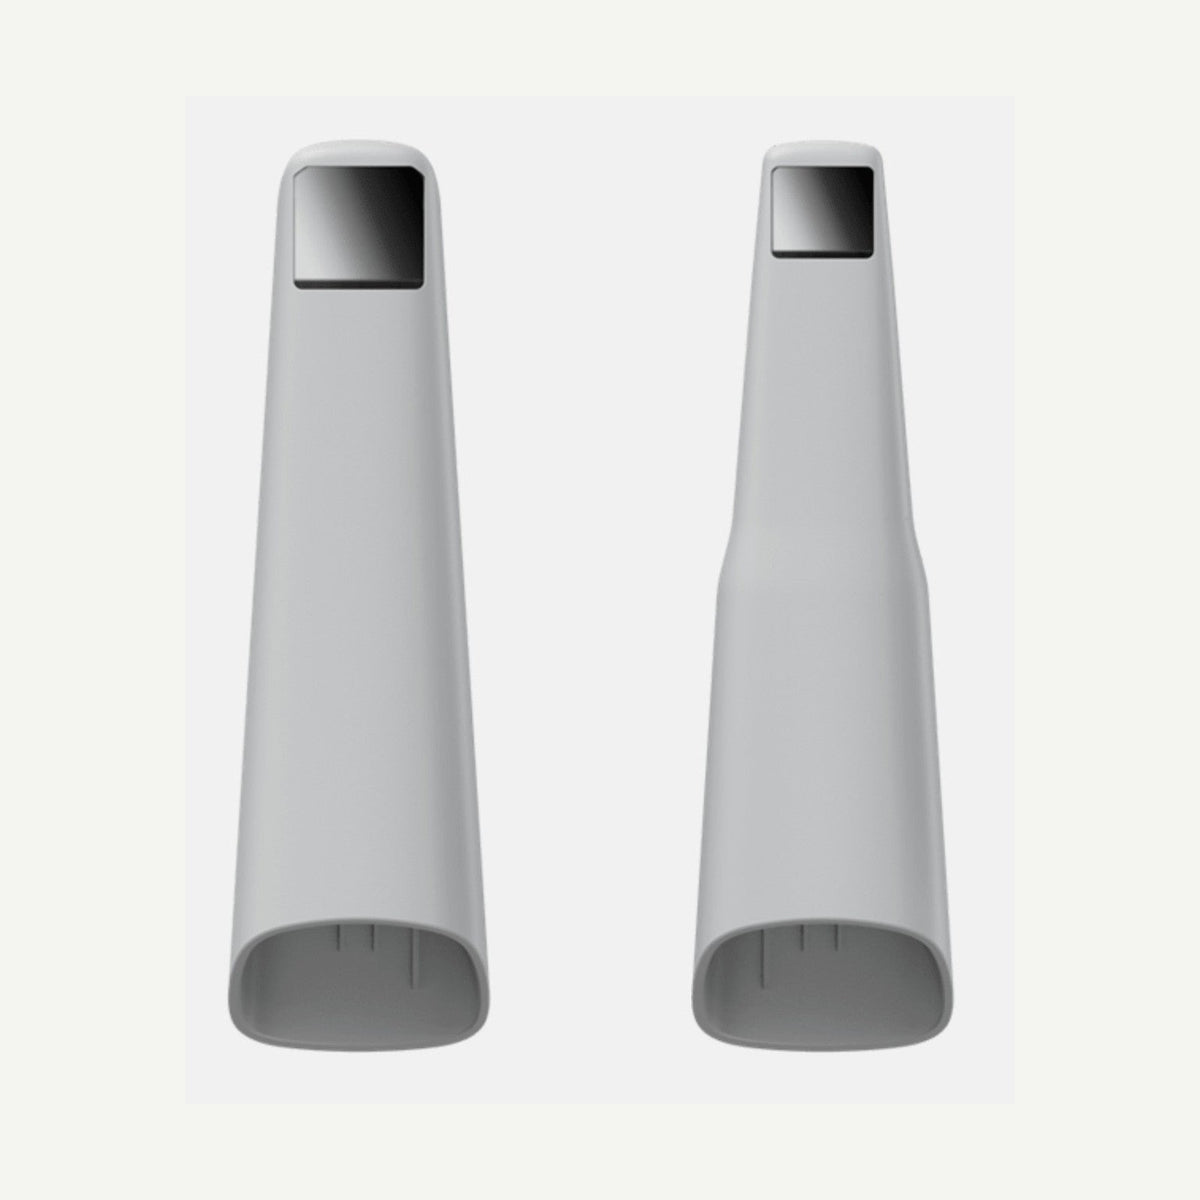
Intraoral scanner maintenance consists of three parts: cleaning and sterilizing the tip after every patient, disinfecting the scanner body, and regular calibration. SHINING 3D's instructions specify autoclaving Aoralscan tips at 134 °C for 4 minutes or at 121 °C for 30 minutes, and each tip may be sterilized at high temperature up to 100 times. Below is the complete procedure step by step, along with the most common mistakes that shorten the service life of the tip and the scanner.
Why maintenance matters for more than hygiene
The tip is the only part of the scanner that comes into direct contact with the patient's mouth, which is why it is changed and sterilized after every patient. However, the tip also contains an optical element – the mirror or window through which the scanner "sees" the teeth. A scratched, dirty or wet window directly degrades scan quality. Calibration works similarly: it maintains the scanner's accuracy, which depends on the relative position of the camera and the projector. Good maintenance therefore means infection control, scan quality and lower running costs.
Cleaning the tip: an essential step before sterilization
The manufacturer's instructions stress that only a cleaned tip may be sterilized or disinfected. The manual cleaning procedure according to SHINING 3D:
- Turn off the scanner and remove the tip from the body.
- Rinse the tip with distilled or purified water for 3 minutes to remove saliva and blood.
- Scrub the inside and outside with a neutral enzymatic cleaner for 3 minutes; repeat this at least twice. Clean the inside with a sponge or brush from both ends using small circular movements, and the outside with gentle back-and-forth strokes.
- Rinse thoroughly with water for at least 3 minutes. Use fresh water for each rinse and do not reuse it.
- If stains or fingerprints remain on the window, repeat the scrubbing and rinsing.
- Dry with a soft, lint-free cloth and leave in a well-ventilated area, or dry in a drying cabinet for 10 minutes.
- Inspect the window to make sure it is clean and undamaged.
The manufacturer warns against using household tissues, as their fibers are difficult to remove from the optics. Some newer instructions (e.g. for the Aoralscan Elite Wireless) also describe automated cleaning in a washer-disinfector with a set program – if you use such a device, follow the instructions for your model.
Autoclave sterilization
High-temperature steam sterilization is the main way to prepare a tip for the next patient. The manufacturer's instructions specify the following procedure:
- Make sure the tip is completely dry. The SHINING 3D support page notes that a wet tip can be damaged at high temperature and pressure.
- Fill the inside of the tip with medical gauze and seal it in a sterilization pouch.
- Select the cycle according to the autoclave type (see table).
- After drying, let the tip cool to room temperature to avoid burns.
- Inspect the window. If the tip is needed right away, attach it to the scanner; if not, store it dry together with other dental instruments.
| Autoclave type | Temperature | Sterilization time | Drying |
|---|---|---|---|
| Pre-vacuum (forced air removal) | 134 °C | 4 min | 30 min |
| Gravity displacement | 121 °C | 30 min | 30 min |
The Aoralscan Elite instructions additionally specify the relative pressure: 205.8 kPa at 134 °C and 102.9 kPa at 121 °C.
How many sterilization cycles a tip can withstand
SHINING 3D's instructions clearly state that a tip can be sterilized at high temperature up to 100 times, after which it must be discarded. In practice, this means it is worth counting the cycles for each tip – for example, by labeling the tips and keeping a simple log or using a sterilization tracking system. This way the tip is replaced on time, not only when scan quality deteriorates. In addition, inspect the window every time before attaching the tip: if it is cracked or scratched, the manufacturer recommends contacting the representative or service provider.
To be able to work without interruption while one tip is being sterilized, it is worth having several spares. IMMT offers Aoralscan intraoral scanner tips. Tips differ by scanner model and size (large, standard, mini), so check compatibility with your scanner before ordering.
High-level disinfection: an alternative, not an addition
The manufacturer's instructions also describe a second method – high-level disinfection with an ortho-phthalaldehyde (OPA) solution at a concentration of 5.5 g/l. The tip is fully immersed in the solution at 20–25 °C for no less than 12 and no more than 14 minutes, rinsed three times for one minute with purified water, washed for at least another 3 minutes and dried (30 minutes in a drying cabinet).
Important: the manufacturer states that high-level disinfection and steam sterilization must not be combined. Choose one method according to your clinic's infection control procedure, and do not autoclave the tip immediately after immersion in disinfectant. The SHINING 3D support page also warns that disinfectant left inside the tip, together with moisture accumulated in the pouch, can oxidize the scanner contacts.
Cleaning the scanner body, cradle and calibrator
The scanner body is not sterilized – the manufacturer's instructions specify intermediate-level disinfection for it:
- Disconnect the power and remove the tip.
- Clean the optical window of the body with a lint-free cloth or lens paper moistened with cleaning fluid, wiping from the center outwards.
- Attach the protective cap supplied in the package.
- Clean the body with new cotton gauze moistened with 70–75% ethanol. The cradle and calibrator are cleaned in the same way.
- Do not use detergents, sharp objects or tools on the window, body or ventilation openings.
- When not in use, store the scanner in a dust-proof bag.
Calibration: when and how
During calibration, the scanner's cameras and projector are checked against a reference calibrator. For the Aoralscan 3, the SHINING 3D support page recommends calibrating:
- when using the scanner for the first time;
- every two weeks;
- after accidentally dropping the scanner or after strong vibration (e.g. transport).
The same page recommends brightness adjustment once every three months. The procedure is simple: the tip is removed, the calibrator is attached according to the markings and connected to the computer (for the Aoralscan 3 Wireless, via the cradle), and automatic calibration and brightness adjustment are started in the IntraoralScan software. When finished, the calibrator is removed and the tip is reattached. The manufacturer warns that the calibrator should be attached carefully and precisely so as not to damage the front of the scanner.
The calibration frequency for other models is specified in the instructions for use of the specific scanner. If the calibrator is lost or damaged, IMMT offers an intraoral scanner calibration kit – check compatibility with your model before ordering.
The most common mistakes
- Autoclaving a wet or incompletely cleaned tip.
- Immersing the tip in disinfectant and then also sterilizing it in an autoclave.
- Cleaning the window with household tissues or abrasive products.
- Not counting sterilization cycles, so the tip is used longer than the manufacturer allows.
- Postponing calibration even though the scanner has been dropped or transported.
Frequently asked questions
How many times can an Aoralscan tip be autoclaved?
The manufacturer's instructions state up to 100 times at high temperature; after that, the tip must be discarded.
Which autoclave cycle should I choose?
In a pre-vacuum autoclave – 134 °C for 4 minutes; in a gravity autoclave – 121 °C for 30 minutes; in both cases followed by 30 minutes of drying.
Can the tip just be wiped with alcohol?
No. The tip comes into contact with the patient's mouth, so after every patient it must be cleaned and sterilized, or disinfected with high-level disinfection, according to the manufacturer's instructions. Only the scanner body is cleaned with ethanol.
How often should the scanner be calibrated?
Aoralscan 3 – on first use, every two weeks and after a drop or strong vibration; brightness should be adjusted once every three months. For other models – according to their instructions for use.
How many spare tips do I need?
That depends on patient flow and the length of the autoclave cycle. You should have enough tips to work without waiting for sterilization and drying to finish.
Summary
Thorough tip cleaning, the right autoclave cycle, tracking sterilization cycles and regular calibration support both infection control and scanning accuracy. You will find spare tips and other accessories in the Intraoral scanner accessories section, and scanners in the Intraoral scanners section. We discuss how maintenance costs fit into the total cost of a scanner in the article How much an intraoral scanner costs and how it pays for itself. Questions about maintenance or compatible accessories? Contact IMMT or call +370 601 00030.